
https://blog.shanbhag.me/My-terminal-iTerm2-Oh-my-Zsh-with-PowerLevel10k/
iTerm2 + Oh my Zsh + PowerLevel10k
Oct 04, 2019 / 3 mins to read (407 words)
Oh My Zsh is an open-source, community-driven framework for managing your zsh configuration.
Sounds boring. Let’s try again.
Oh My Zsh will not make you a 10x developer…but you may feel like one.
Please note the installation procedure is meant for macOS.
Table of Contents
-
Oh My Zsh
-
iTerm2
-
Powerlevel10k
-
Plugins (Optional, Good to have!)
Oh My Zsh
Install zsh using Homebrew
If you haven’t installed homebrew yet, install it by pasting the below lines in your terminal.
/usr/bin/ruby -e "$(curl -fsSL https://raw.githubusercontent.com/Homebrew/install/master/install)"
Now, Install zsh using the following command:
brew install zsh

Install Oh My Zsh
Install oh-my-zsh using the following command:
sh -c "$(curl -fsSL https://raw.github.com/robbyrussell/oh-my-zsh/master/tools/install.sh)"
iTerm2
Install iTerm2
brew cask install iterm2
Or, Download and install iterm2 from the official website – iterm2. Then, In Finder drag and drop the iTerm Application file into the Applications folder.
Set zsh as the default terminal environment
- Go to iTerm2 preferences.
- Head to Profiles -> General.
- Paste /bin/zsh in the Command textbox and restart iTerm2.

Installation Problems?
You might need to modify your PATH in ~/.zshrc if you’re not able to find some commands after switching to oh-my-zsh.
Powerlevel10k
Reconfigure
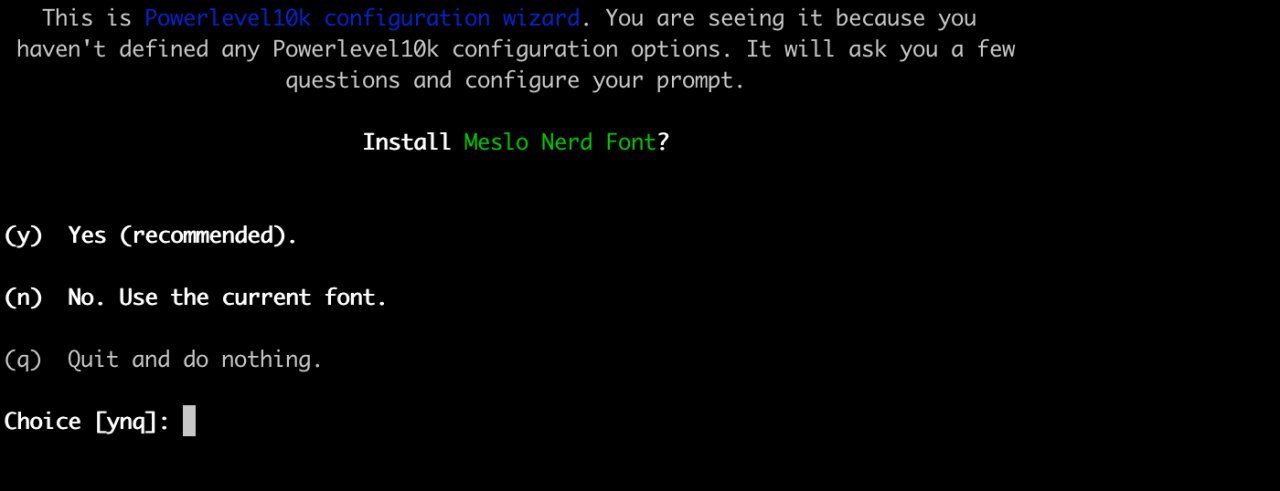
Powerlevel10k is a theme for ZSH. This screencast shows how it can be configured via its built-in configuration wizard.
To run the wizard, type p9k_configure. After asking a few questions it will write your personalized prompt configuration to ~/.p10k.zsh and append a line to your ~/.zshrc that sources the new config. To try another style, run p9k_configure again.
To try different prompt styles without making any changes to your config, set ZDOTDIR before running p9k_configure:
ZDOTDIR="$(mktemp -d)" p9k_configure
Install Powerlevel10k
-
Install Powerlevel10k using the following command
git clone https://github.com/romkatv/powerlevel10k.git $ZSH_CUSTOM/themes/powerlevel10k -
Then you need to enable it, change the value of ZSH_THEME to following in
~/.zshrcfile :ZSH_THEME="powerlevel10k/powerlevel10k"
Configure Powerlevel10k Theme
- Restart iTerm2. On Restart Powerlevel10k Configurator will show up, choose preferred UI options. Finish the wizard.
- Make sure
iTerm2 → Preferences → Profiles → Texthas set Font to MesloLGS NF.
Plugins (Optional, Good to have!)
Clone/Install plugins
-
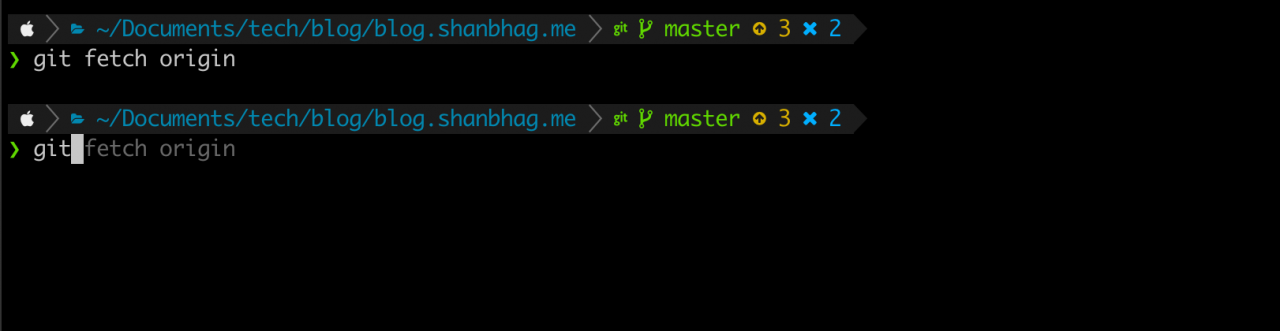
zsh-syntax-highlighting – It enables highlighting of commands whilst they are typed at a zsh prompt into an interactive terminal. This helps in reviewing commands before running them, particularly in catching syntax errors.
git clone https://github.com/zsh-users/zsh-syntax-highlighting.git ${ZSH_CUSTOM:-~/.oh-my-zsh/custom}/plugins/zsh-syntax-highlighting -
zsh-autosuggestions – It suggests commands as you type based on history and completions.
git clone https://github.com/zsh-users/zsh-autosuggestions ${ZSH_CUSTOM:-~/.oh-my-zsh/custom}/plugins/zsh-autosuggestions
Activate the plugins
-
In
~/.zshrcfile replace the line starting with
plugins=to below line.
plugins=( git zsh-syntax-highlighting zsh-autosuggestions)
Some more official plugins – ohmyzsh plugins
That’s it!
This is how my Terminal looks – Let me know if you have any questions. 😉
My Mackbook CLI