
: Downloaded Image Assets – Process / Organize / Create Web Gallery
(HOW TO ORGANIZE A FOLDER OF DOWNLOADED IMAGE ASSETS)


QUICK WEB GALLERY – ASSET ORGANIZE METHOD
PRE-GAME YOUR PREFERENCES
CHECK FILE HANDLING PREFERENCES

TURN ON TECHNOLOGY PREVIEWS


GRAB A BUNCH OF ASSETS FROM YOUR FAVORITE STOCK PLACE – I use freepik.com and flaticon.com
Let's say you downloaded 30 new assets from an asset site. Generally you get a bunch of zip files that contain:
JPGS
PSD
EPS
More Types: AI, SVG, PNG
What is the quickest way to get these assets broken up – placed into folders – and make assets that are web ready so you can put them into a web gallery – to find them again.
1. CREATE ASSET FOLDERS
-
Create the following folders:
- opened
- eps
- Jpg-large
- Jpgs-sized2000px-72dpi
- psd
- (Possible zips)
-
Download all asset zip files into opened
- If you want to save original zip files –
- DUPLICATE open folder and call it "zips" at this point
-
UNZip all zip files – in "OPENED" folder
-
In OPENED FOLDER
-
Remove all zip files
-
Keep created folders
- (using Keka App on mac – does this automatically)
-
INITIAL FOLDERS SET UP – ZIP FILES REMOVED FROM "OPENED FOLDER"

2. RUN A SEARCH ON THE "OPENED" FOLDER
SEARCH FOR:
- EPS
- JPG
- PSD
EXAMPLE USING EPS
- Search "Opened Folder" for eps

- Copy Results

- Use "back" button to navigation back to main folders area

- Main Folder Section- Enter "EPS" Folder and PASTE ITEMS

- CHECK RESULT

EPS ONLY STEP: NEXT: RUN – AIMERGE SCRIPT https://github.com/iconfinder/ai-merge
- This script will grab everything in your "eps folder" and place them on an individual art board in the same file –
- That allows you to put all those assets away in 1 place – so you can find them more easily – and you can grab each one individually –
- Link your web gallery name to the asset name – so you can search or just find them in a folder
- Download https://github.com/iconfinder/ai-merge
- Place it in (on MAC) – /Applications/Adobe Illustrator 2021/Presets.localized/en_US/Scripts
- Choose it from File => Scripts => AI Merge

FINAL FILE – you might have to do a little moving – resizing)
- all assets are embedded (not linked)
- all assets are vector – grab one – copy paste and get to work on it!

"PSD" USE THE SEARCH / COPY / PASTE STEPS AGAIN – WITH PSD
RESULT:
These images may differe depending on what you were giving in your download from what is in the eps folder
- You generally do not receive a .eps AND a .psd – it's one or the other – so you should strain out your psds
- These can be kept as they are – since the jpgs-large will contain a version of them – and jpg-sized-200px will end up in a web gallery

DUPLICATE THOSE STEPS – BUT SUBSITUTE "JPG"
-
You will be pasting these images into "jpg-large"
- The initial images you download are generally huge – I always create a web gallery of mine so I can see them easily and from anywhere – organize them – it seems to work best if they MAX out at 2000px width and 72dpi
BATCH JPG-LARGE to JPG-2000px-72dpi
SET UP "72dpi – 2000px W" ACTION TO USE LATER USE AS A BATCH

To Create:
-
Open Actions Panel | Windown => Actions
-
Click SubMenu on Actions Panel (top of panel – far right )
-
Select "New Action"
-
Name New Action – "72dpi – 2000px W"
-
Hit "Record"
-
Open any image that 300dpi and has dimenstions greater than 2000px width
-
Image Size
-
IMAGE SIZE SETTINGS:
-
|X| Resample – Bicubik Sharper (reduction)
-
Resolution – 72dpi px/in
-
WIDTH 2000px
-
FIT TO: Original Size
-
Click "OK"
-
Save As – giveitanewname.jpg
- It SHOULD only be 1 layer so saving a jpg is no issue
- save into jpg-sized-2000px folder so you do not overwrite original
-

BATCHING WITH THE CREATED ACTION
-
File => Automate => Batch
-
Be sure you Action – 72dpi – 2000px W is selected
-
SOURCE FOLDER – use the "jpgs-large" folder you created
- |X| – Override Action "Open" Command
- |X| – Suppress File Open Options Dialogs
- |X| Suppress Color Profile Warnings
-
DESTINATION FOLDER – choose the "jpg-sized-2000px" folder
-
|X| – Override Action "Save As" Command
-
File Naming
- DocumentName = DocumentName
- extension = extension
-
-
CLICK OK –
- Will process in background – so check "jpg-sized2000px" folder in about 30 seconds
COMPARE

JPG-2000PX

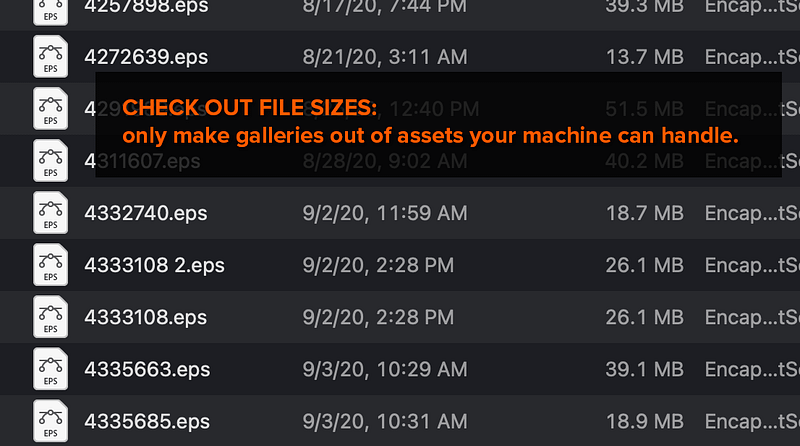
THIS WORKS BEST IF YOU HAVE A LARGE – OVER 5 GROUP OF ZIP FILES TO PROCESS
NEXT: WEB GALLERY SETUP (coming soon)

BONUS SECTION
Solution #1: Work in Outline Mode
Working in Outline Mode can speed up the process of working with vectors. Instead of your machine rendering previews of every change you made, you can focus on the shapes and objects you're creating versus whether or not that Gaussian Blur has rendered for the 15th time.
Understandably, however, this method may not be as advantageous to you if you're working with Clipping Masks or altering rasterized content. Sometimes simple solutions don't really aid in super complex images. Luckily we have more tips!
 Outline Mode on the left and Overprint Preview Mode on the right.
Solution #2: Rasterize Content
As you're working on a very large design, consider if it's for print or web. If a loss of perfectly scalable quality isn't a problem for you, you may consider rasterizing effects or complex content to put less stress on your machine. This works well for textures, patterns, and other content that may take a while to render.
Alternatively, you can create a copy of the effect to preview it as a rasterized object while keeping the full, vector piece in another file or hidden.
 Rasterized content on the left and vector content on the right.
Solution #3: Hide Unnecessary Layers
Speaking of hiding content, every time you make a change to your active layer, all of those visible need to render again while in Preview Mode. The more complex your document and the changes you've made to it are, the more virtual memory this will take up, often causing lag.
Hide unnecessary layers in your Layers panel not only to speed up your own process and focus on the task at hand, but also to give your machine a bit of a break.
 Hide all layers not currently in use.
Solution #4: Use Linked Files vs. Embedded
Our final solution is simple: link files instead of embedding them. It'll save on the overall document size, and so long as you remember to keep linked files in their corresponding folders or update your vector document, you'll bog down your machine with fewer tasks (like rendering that image).
It's a great solution when you've added a layer of bitmapped images that are simply serving as reference points. You don't need those files to take up space since they're not a part of the final document.
 Linked sketch file on the left and final vector icon on the right.