
https://www.asustor.com/en/online/College_topic?topic=307
COURSE OBJECTIVES Upon completion of this course you should be able to:
- Have a basic understanding of link aggregation and its various modes
- Set up link aggregation on your ASUSTOR NAS
PREREQUISITES *Course Prerequisites:* None *Students are expected to have a working knowledge of:*
N/A
OUTLINE
2.1 Setting up link aggregation
1. Introduction to Link Aggregation
1.1 What is link aggregation? Link aggregation (a.k.a. trunking, bonding or teaming) combines two or more network connections into one. To use link aggregation, your Ethernet cables must be connected to the same network switch and your network switch must support link aggregation.
Link aggregation offers two primary benefits:
a. Load Balancing Your network traffic loads will be distributed across two connections that appear as a single connection in order to increase reliability through redundancy. b. Fault tolerance (Failover) Combining two network connections provides you with fault tolerance. Should one of your network connections fail, traffic will be automatically directed to the other connection.
Link aggregation only increases overall throughput but it doesn't increase individual device speeds.
1.2 Link aggregation modes ASUSTOR NAS offers several different modes for link aggregation. Each mode is described briefly below. Round-Robin: Transmits packets in sequential order from the first available connection to the next. This mode provides load balancing and fault tolerance. Active Backup: Only one connection is active. A different connection becomes active if, and only if, the active connection fails. The aggregated MAC address is externally visible on only one port (network adapter) to avoid confusing the switch. This mode provides fault tolerance. XOR: Transmits based on the default simple transmit hash policy. This mode provides load balancing and fault tolerance. This mode supports Static Link Aggregation. Broadcast: Transmits everything on all connections. This mode provides fault tolerance. 802.3ad (IEEE 802.3ad Dynamic Link Aggregation): Creates aggregation groups that share the same speed and duplex settings. Utilizes all connections in the active aggregator according to the 802.3ad specification. You will need a switch that supports IEEE 802.3ad dynamic link aggregation. This mode provides fault tolerance and load balancing. Adaptive Transmit Load Balancing: Does not require any special switch support. The outgoing traffic is distributed according to the current load (computed relative to the speed) on each connection. Incoming traffic is received by the current connection. If the receiving connection fails, another connection takes over the MAC address of the failed receiving connection. This mode provides fault tolerance. Adaptive Load Balancing: Includes transmit load balancing plus receive load balancing for IPV4 traffic and does not require any special switch support. The receive load balancing is achieved by ARP negotiation. This mode provides fault tolerance and load balancing.
Generally speaking, link aggregation modes provide either fault tolerance or load balancing benefits. The benefits provided by each mode are summarized in the chart below.
| Aggregation Mode | Fault Tolerance | Load Balancing |
|---|---|---|
| Round-Robin | V | V |
| Active-Backup | V | X |
| XOR | V | V |
| Broadcast | V | X |
| 802.3ad | V | V |
| Adaptive Transmit Load Balancing | V | X |
| Adaptive Load Balancing | V | V |
2. Configuring your NAS
2.1 Setting up link aggregation
STEP 1
Select [Settings] > [Network] > [Network Interface] > [Add] > [Create Link Aggregation].

STEP 2
The Link Aggregation Wizard window will now appear. Select an aggregation mode from the drop-down list.

STEP 3
When you select an aggregation mode from the drop-down list, you will be able to see the fault tolerance and/or load balancing benefits that the mode provides. (In the example below we have selected the “Active-Backup” mode which provides only fault tolerance benefits). After you have finished selecting an aggregation mode, click [Next].

STEP 4
Select the [Obtain IP address automatically] radio button and click [Next]. (You may also choose to set up your IP address manually if you wish).

STEP 5
Look over a final summary of your settings. Once you’re done, confirm these settings by clicking [Finish].

STEP 6
You will now be able to see your two connections. You can click on the icon towards the right to view more detailed information.


Aggregation and Router Settings
https://www.asustor.com/en/knowledge/detail/?id=&group_id=1010
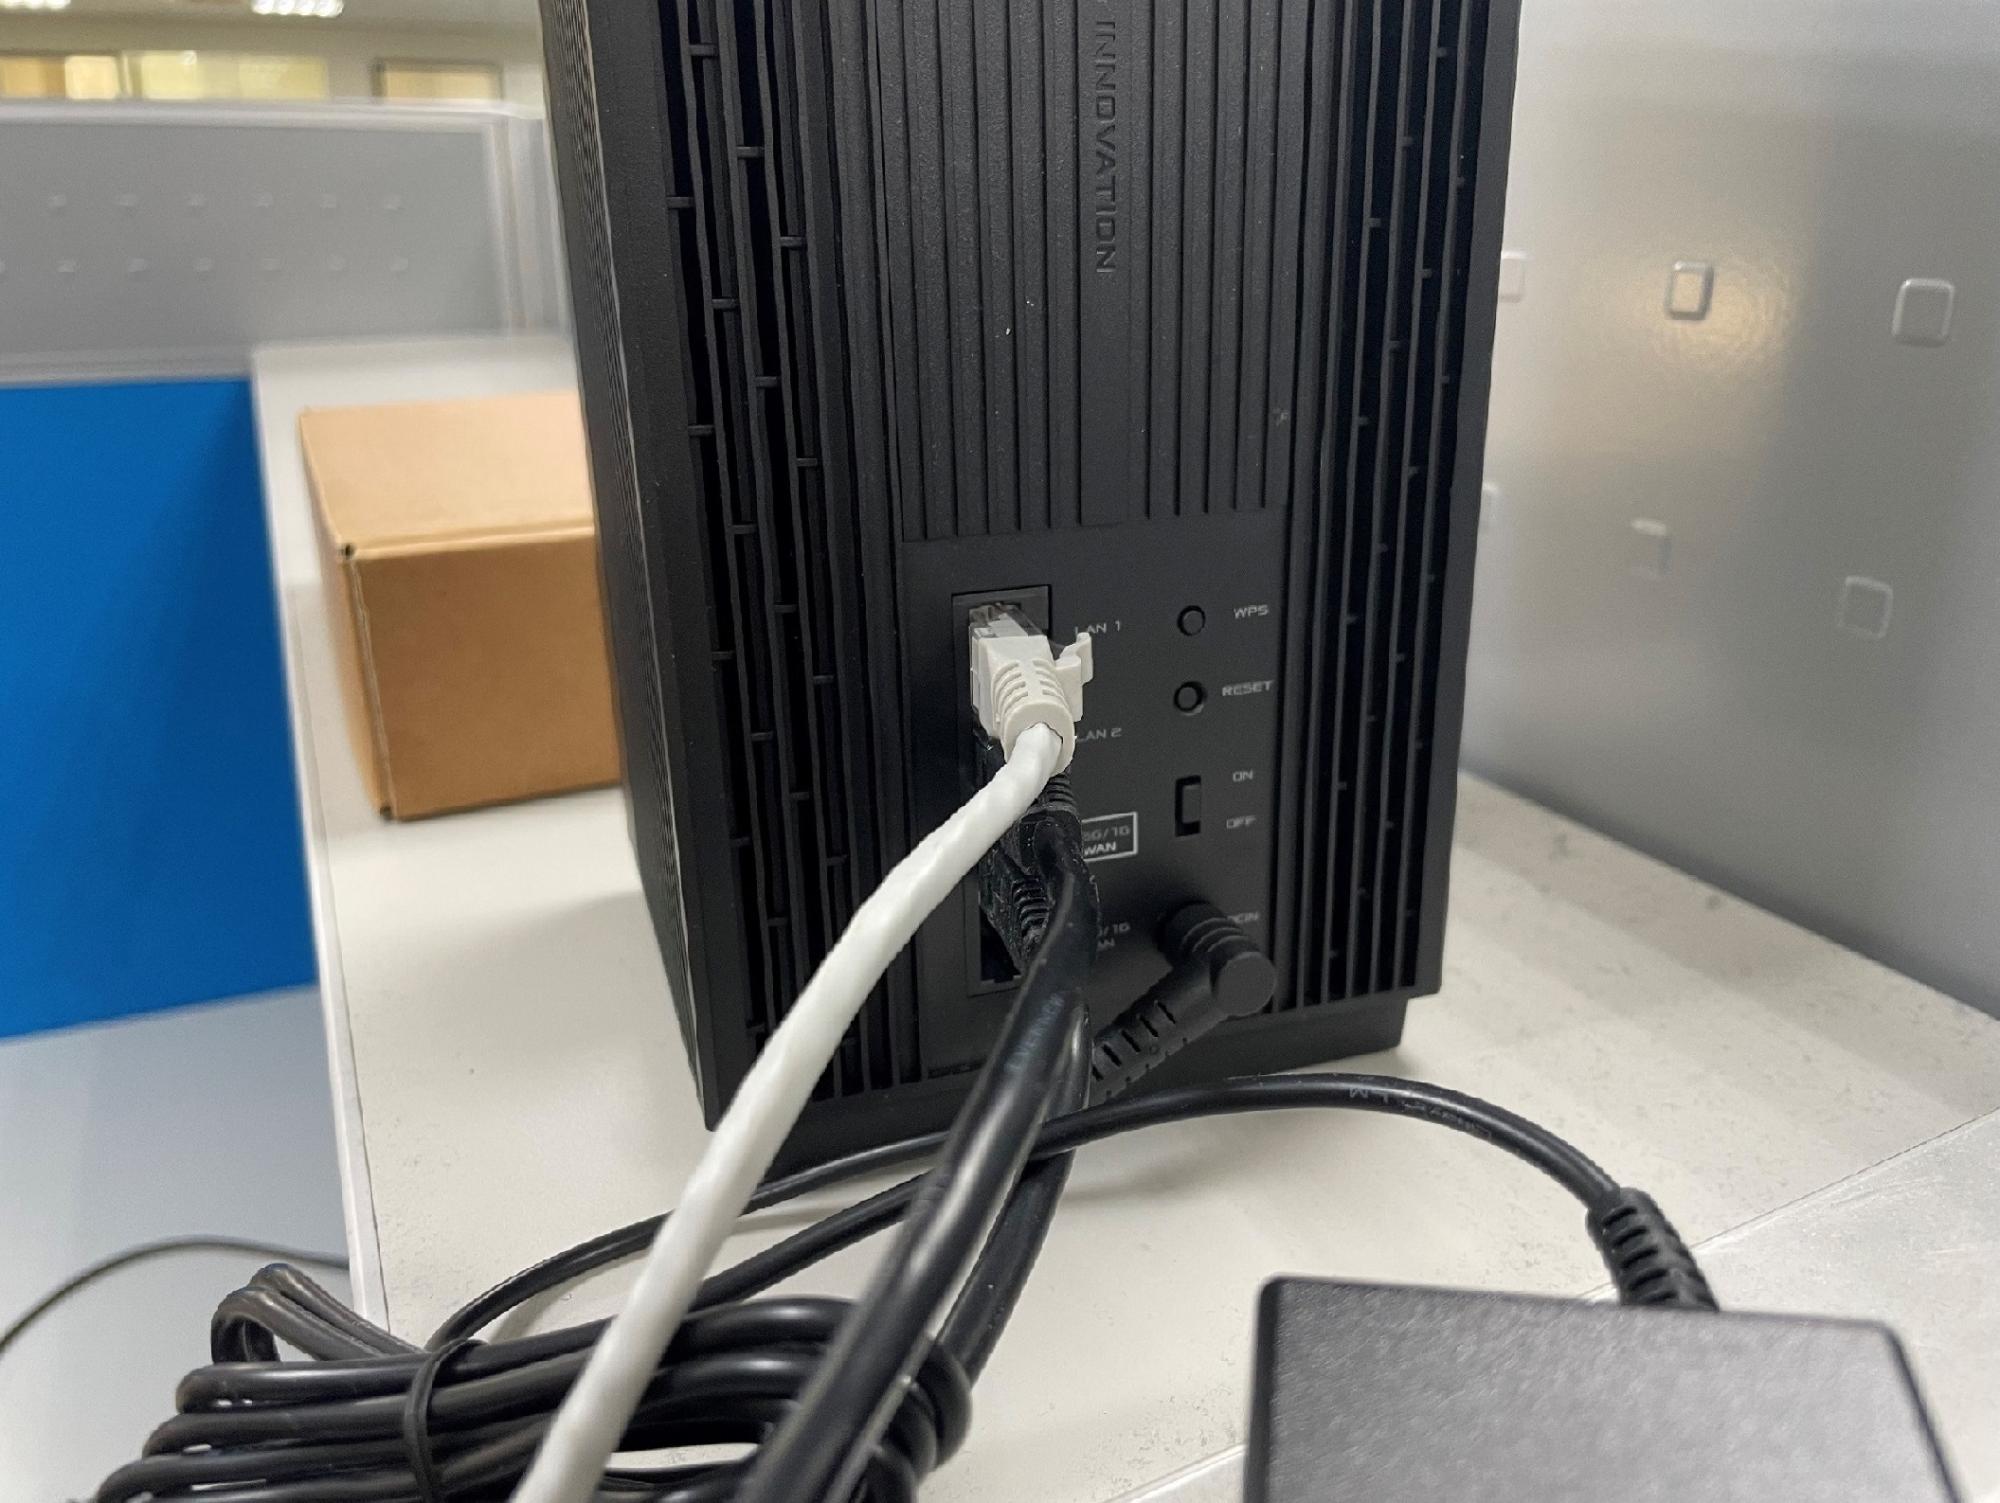
The following steps use a ZenWiFi Pro XT12 as an example. Please ensure your router has link aggregation technology built in before continuing.
- Please use the included Ethernet cables and connect both ports of your NAS to two of your router’s Ethernet ports.
ASUSTOR NAS

ZenWiFi Pro XT12
If you are setting up a mesh router, your NAS must connect to the host instead of nodes.
- Entering the ASUS router settings page.
2.1 Open the browser, and type http://router.asus.com
After using your account/password to log in setting page, please click LAN > Switch Control > Bonding/Link aggregation. Enable it and click apply. This will enable link aggregation functionality to work.

For more information, please visit: https://www.asus.com/support/FAQ/1016088/
- Enabling Link Aggregation
3.1 Click Add and then click Create Link Aggregation

3.2 Select 802.3ad

3.3 Complete IP settings

3.4 After confirming, click Finish

Setup is now complete.
