
Whenever you visit a website, you'll probably click on something like a link or button.
Links take you to a certain part of the page, another page of the website, or another website entirely. Buttons, on the other hand, are usually manipulated by JavaScript events so they can trigger certain functionality.
In this tutorial, we are going to explore the two different ways of executing click events in JavaScript using two different methods.
First, we'll look at the traditional onclick style that you do right from the HTML page. Then we'll see how the more modern "click" eventListner works, which lets you separate the HTML from the JavaScript.
How to Use the onclick event in JavaScript
The onclick event executes a certain functionality when a button is clicked. This could be when a user submits a form, when you change certain content on the web page, and other things like that.
You place the JavaScript function you want to execute inside the opening tag of the button.
Basic onclick syntax
<element onclick="functionToExecute()">Click</element>
For example
<button onclick="functionToExecute()">Click</button>
Note that the onclick attribute is purely JavaScript. The value it takes, which is the function you want to execute, says it all, as it is invoked right within the opening tag.
In JavaScript, you invoke a function by calling its name, then you put a parenthesis after the function identifier (the name).
onclick event example
I have prepared some basic HTML with a little bit of styling so we can put the onclick event into real-world practice.
<div>
  <p class="name">freeCodeCamp</p>
  <button>Change to Blue</button>
</div>
And here's the CSS to make it look good, along with all the rest of the example code:
 body {
   display: flex;
   align-items: center;
   justify-content: center;
   height: 100vh;
      }
p {
   font-size: 2rem;
}

button {
    padding: 7px;
    border: none;
    border-radius: 4px;
    cursor: pointer;
}

button.blue {
    background-color: #3498db;
}

button.green {
    background-color: #2ecc71;
}

button.orange {
   background-color: orangered;
}
So, on the web page, this is what we have:
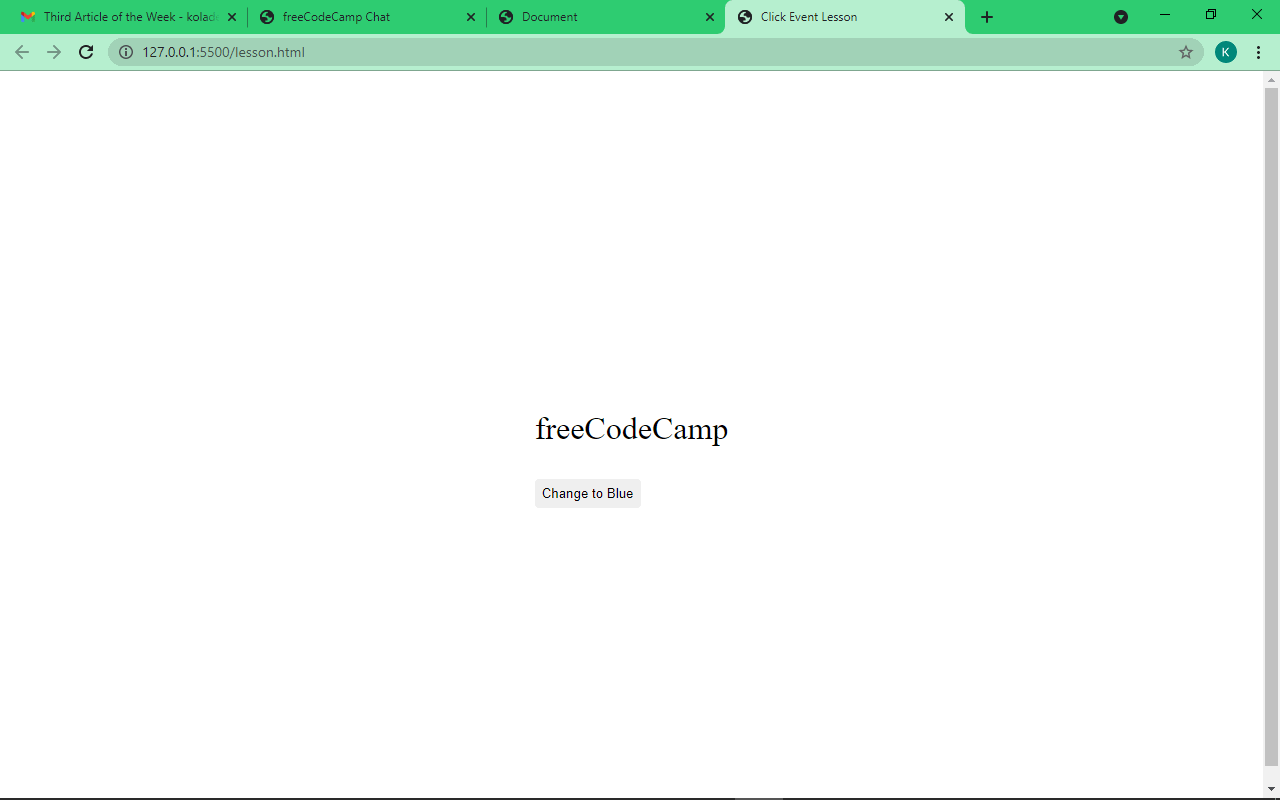
Our aim is to change the color of the text to blue when we click the button. So we need to add an onclick attribute to our button, then write the JavaScript function to change the color.
So we need to make a slight change in our HTML:
<div>
  <p class="name">freeCodeCamp</p>
  <button onclick="changeColor()">Change to Blue</button>
</div>
The function we want to execute is changeColor(). So we need to write it in a JavaScript file, or in the HTML file inside a <script> tag.
If you want to write your script in a JavaScript file, you need to link it in the HTML using the syntax below:
<script src="path-to-javascript-file"></script>
If you want to write the script in an HTML file, just put it inside the script tag:
<script>
  // Your Scripts
</script>
Now, let’s write our changeColor() function.
First of all, we need to select the element we want to manipulate, which is the freeCodeCamp text inside the <p> tag.
In JavaScript, you do that with the DOM’s getElementById(), getElementsByClassName(), or the querySelector() methods. Then you store the value in a variable.
In this tutorial, I will be using querySelector() because it is more modern and it's faster. I will also be using const to declare our variables instead of let and var, because with const, things are safer as the variable becomes read-only.
const name = document.querySelector(".name");
Now that we have the text selected, let's write our function. In JavaScript, the basic function syntax looks like this:
function funcctionName () {
    // What to do
}
So let’s write our function:
function changeColor() {
    name.style.color = "blue";
}
What’s going on?
Remember from the HTML that changeColor() is the function we are going to execute. That’s why our function identifier (name) is set to changeColor. If the name doesn’t correlate with what’s in the HTML, it won’t work.
In the DOM (Document Object Model, refers to all of the HTML), to change anything that relates to style, you need to write “style” then a dot (.). This is followed by what you want to change, which might be the color, background color, font size, and so on.
So, inside our function, we take the name variable we declared to get our freeCodeCamp text, then we change the color to blue.
The color of our the text turns blue any time the button is clicked:
Our code is working!
We could take things a little bit further by changing our text to be more colors:
<div>
      <p class="name">freeCodeCamp</p>
      <button onclick="changeColor('blue')" class="blue">Blue</button>
      <button onclick="changeColor('green')" class="green">Green</button>
      <button onclick="changeColor('orangered')" class="orange">Orange</button>
</div>
So, what we want to do is change the text to blue, green, and orange-red.
This time around, the onclick functions in our HTML take the values of the color we want to change the text to. These are called parameters in JavaScript. The function we'll write takes its own too, which we will call “color”.
Our web page changed a little:

So, let's select our freeCodeCamp text and write the function to change its color to blue, green, and orange-red:
const name = document.querySelector(".name");

function changeColor(color) {
   name.style.color = color;
}
The block of code in the function takes the name variable (where we stored our freeCodeCamp text), then set the color to whatever we passed into the changeColor() functions in the HTML buttons.

How to Use the click eventListener in JavaScript
In JavaScript, there are multiple ways of doing the same thing. As JavaScript itself evolved over time, we started needing to separate the HTML, CSS, and JavaScript code in order to comply with best practices.
Event listeners make this possible as they let you separate the JavaScript from the HTML. You can also do this with onclick, but lets take another approach here.
Basic eventListener syntax
element.addEventListener("type-of-event", functionToExecute)
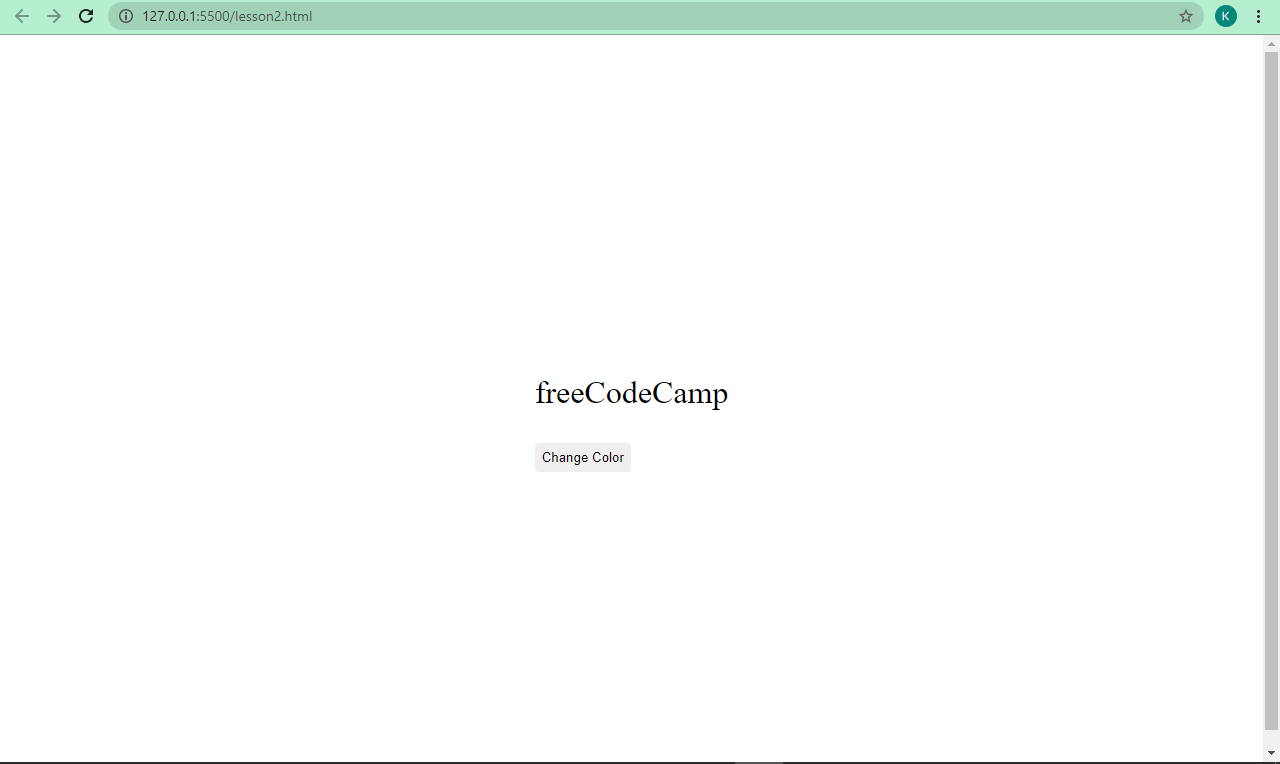
Now, let's change the freeCodeCampt text to blue by using the click eventListner
This is our new HTML:
 <div>
      <p class="name">freeCodeCamp</p>
      <button>Change Color</button>
 </div>
And this is what it looks like:
This time around in our script, we need to select the button too (not just the freeCodeCamp text). That’s because there’s nothing JavaScript in the opening tag of our button, which is cool.
So, our script looks like this:
const name = document.querySelector(".name");
const btn = document.querySelector("button");

      btn.addEventListener("click", function () {
        name.style.color = "blue";
 });
We can also separate our function totally from the eventListener and our functionality will still remain the same:
btn.addEventListener("click", changeColor);
      function changeColor() {
        name.style.color = "blue";
}
How to Build a " Show More" and "Show Less" Button with JavaScrpit
One of the best ways to learn is by making projects, so let's take what we've learned about the onclick and "click" eventListner to do build something.
When you visit a blog, you often see excerpts of articles first. Then you can click on a "read more" button to show the rest. Let's try to do that.
This is the HTML we are dealing with:
 <article id="content">
      <p>
        freeCodeCamp is one of the best platforms to learn how to code.
        freeCodeCamp has a detailed curriculum that will take you from zero to
        hero in web development, software engineering, machine learning, and
        more.
      </p>

      <p>
        freeCodeCamp also has a YouTube channel containing over 1000 videos on
        web development, software engineering, machine learning, data science,
        freelance web development, database administration, and pretty much
        anything related to tech. To get updates when videos are uploaded, you
        need to subscribe to the channel and turn on notifications. You can also
        follow freeCodeCamp on Twitter, where links to well written articles and
        videos are tweeted daily.
      </p>

      <p>
        Since no one has to pay to learn how to code on freeCodeCamp,
        freeCodeCamp runs on voluntary donations from donors all around the
        world in order to pay employees and maintain servers. If you are
        generous enough consider joining the donors.
      </p>
    </article>

<button onclick="showMore()">Show more</button>
It’s simple HTML with some facts about freeCodeCamp. And there's a button we already attach an onclick to. The function we want to execute is showMore(), which we will write soon.
Without a CSS, this is what we have:
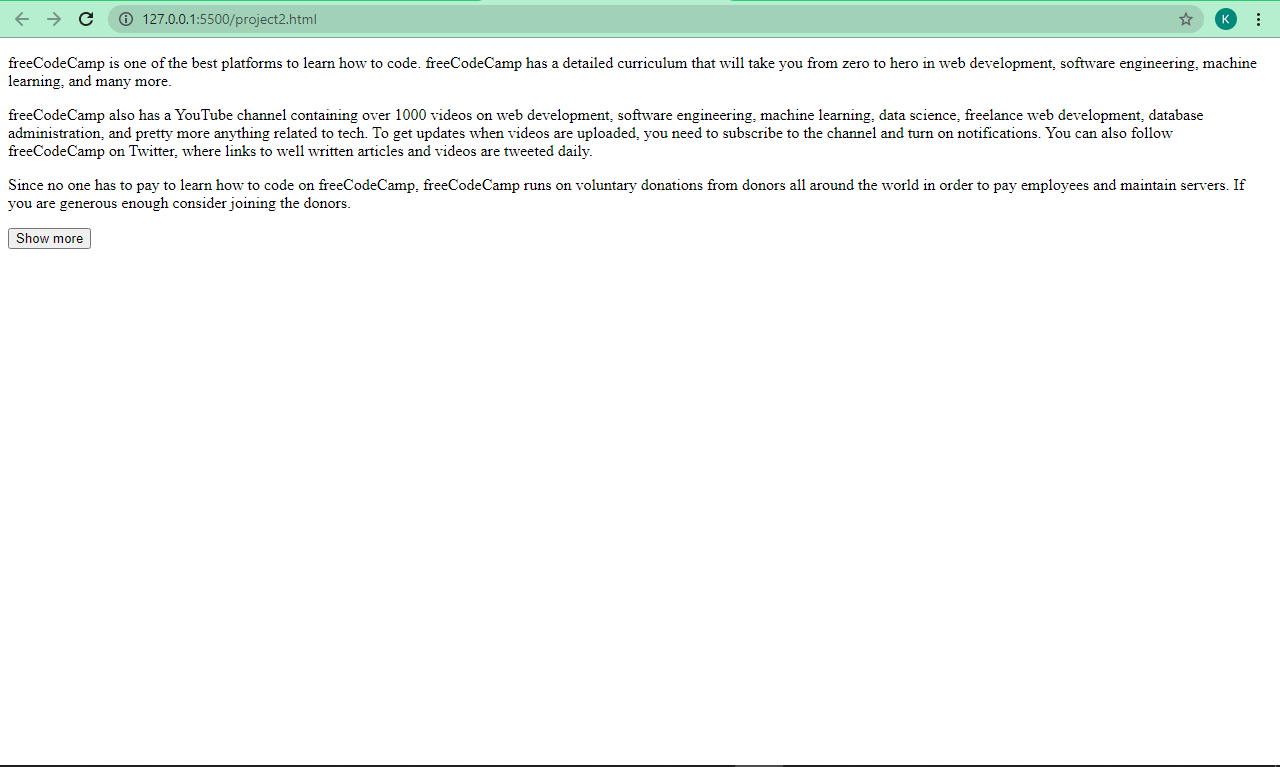
It's not super ugly, but we can make it look better and act the way we want it to. So we have some CSS which I will explain below:
<style>
      * {
        margin: 0;
        padding: 0;
        box-sizing: border-box;
      }

      body {
        background: #f1f1f1;
        display: flex;
        align-items: center;
        justify-content: center;
        flex-direction: column;
      }

      article {
        width: 400px;
        background: #fff;
        padding: 20px 20px 0;
        font-size: 18px;
        max-height: 270px;
        overflow: hidden;
        transition: max-height 1s;
        text-align: justify;
        margin-top: 20px;
      }

      p {
        margin-bottom: 16px;
      }

      article.open {
        max-height: 1000px;
      }

      button {
        background: #0e0b22;
        color: #fff;
        padding: 0.6rem;
        margin-top: 20px;
        border: none;
        border-radius: 4px;
      }

      button:hover {
        cursor: pointer;
        background: #1e1d25;
      }
</style>
What's the CSS doing?
With the universal selector (*), we are removing the default margin and padding assigned to elements so we can add our own margin and padding.
We also have box sizing set to border-box so we can include the padding and border in our elements’ total width and height.
We centered everything in the body with Flexbox and gave it a light grey background.
Our <article> element, which contains the text, has a width of 400px, a white background (#fff), and has a padding of 20px at the top, 20 on the left and right, and 0 at the bottom.
The paragraph tags inside of it have a font-size of 18px, and then we gave them a maximum height of 270px. Due to the max height of the article element, all the text won't be contained and will overflow. To fix this, we set overflow to hidden in order not to show that text at first.
The transition property ensures that every change happens after 1 second. All text inside the article are justified and have a margin top of 20 pixels so it doesn’t stay too attached to the top of the page.
Because we removed the default margin, our paragraphs got all pushed together. So we set a bottom margin of 16 pixels in order to separate them from one another.
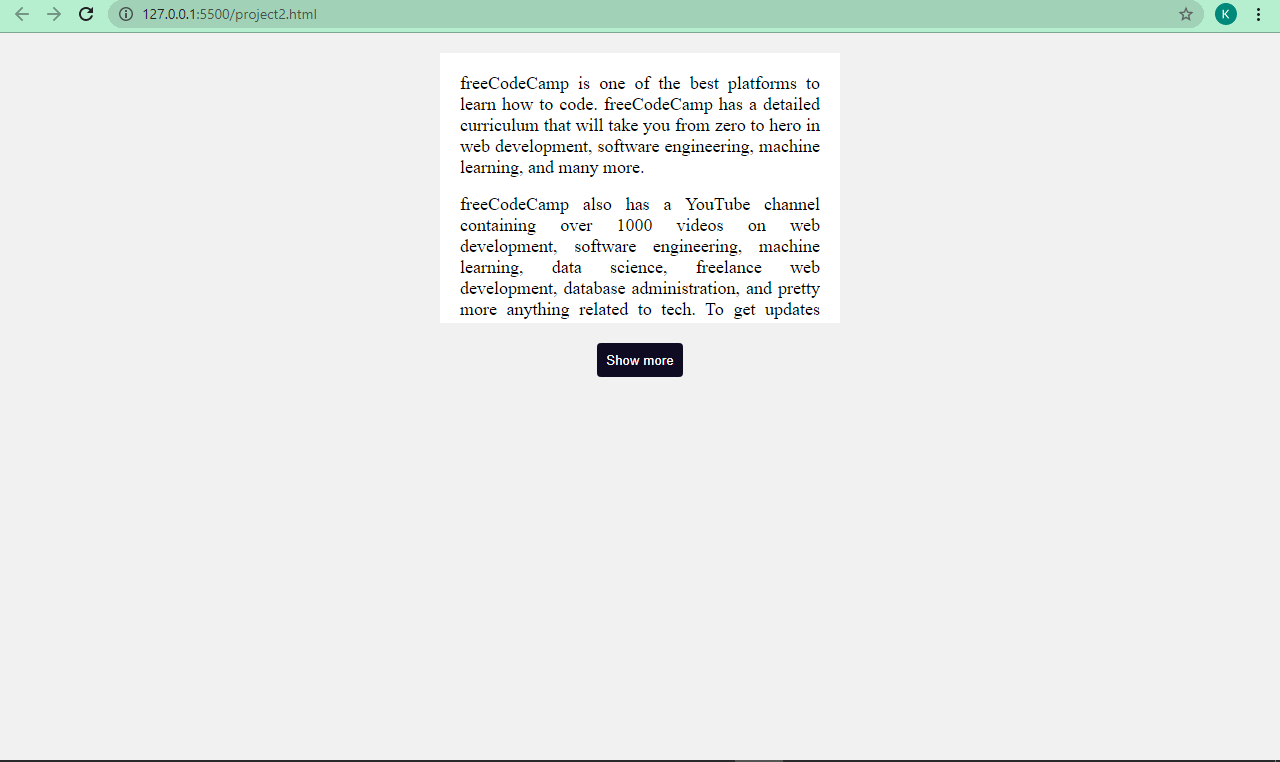
Our selector, article.open, has a property of max-height set to 1000px. This means that any time the article element has a class of open attached to it, the maximum height will change from 270px to 1000px to show the rest of the article. This is possible with JavaScript – our game changer.
We styled our button with a darkish background and made it white. We set its border to none to remove HTML’s default border on buttons, and we gave it a border radius of 4px so it has a slightly rounded border.
Finally, we used the hover pseudo-class in CSS to change the button cursor to a pointer. The background color slightly changes when a user hovers their cursor over it.
There we go – that’s the CSS.
Our page now looks better:
The next thing we need to do is to write our JavaScript so we can see the rest of the article that is hidden.
We have an onclick attribute inside our button opening tag ready to execute a showMore() function, so let's write the function.
We need to select our article first, because we have to show the rest of it:
const article = document.querySelector("#content");
The next thing we need to do is write the function showMore() so we can toggle between seeing the rest of the article and hiding it.
function showMore() {
     if (article.className == "open") {
       // read less
       article.className = "";
       button.innerHTML = "Show more";
     } else {
       //read more
       article.className = "open";
       button.innerHTML = "Show less";
     }
  }
What is the function doing?
We use an if…else statement here. This is a crucial part of JavaScript that helps you make decisions in your code if a certain condition is met.
The basic syntax looks like this:
if (condition == "something") {
  // Do something
} else {
  // Do something else
}
Here, if the class name of the article equals open (that is, we want to add the class of open to it, which was set to a maximum height of 1000px in the CSS), then we want to see the rest of the article. Else, we want the article to return to the initial state where a part of it is hidden.
We do this by assigning it a class of open in the else block, which makes it show the rest of the article. Then we set the class to an empty string (none) in the if block, which makes it return to the initial state.
Our code is working fine with a smooth transition:
We can separate the HTML and JavaScript and still use onclick, because onclick is JavaScript. So it's possible to write this in a JavaScript file instead of starting from the HTML.
 button.onclick = function () {
     if (article.className == "open") {
       // read less
       article.className = "";
       button.innerHTML = "Show more";
     } else {
       //read more
       article.className = "open";
       button.innerHTML = "Show less";
     }
  };

We can also do this using an eventListner:
<article id="content">
      <p>
        freeCodeCamp is one of the best platforms to learn how to code.
        freeCodeCamp has a detailed curriculum that will take you from zero to
        hero in web development, software engineering, machine learning, and
        many more.
      </p>

      <p>
        freeCodeCamp also has a YouTube channel containing over 1000 videos on
        web development, software engineering, machine learning, data science,
        freelance web development, database administration, and pretty more
        anything related to tech. To get updates when videos are uploaded, you
        need to subscribe to the channel and turn on notifications. You can also
        follow freeCodeCamp on Twitter, where links to well written articles and
        videos are tweeted daily.
      </p>

      <p>
        Since no one has to pay to learn how to code on freeCodeCamp,
        freeCodeCamp runs on voluntary donations from donors all around the
        world in order to pay employees and maintain servers. If you are
        generous enough consider joining the donors.
      </p>
</article>

<button id="read-more">Show more</button>
 const article = document.querySelector("#content");
 const button = document.querySelector("#read-more");

button.addEventListener("click", readMore);

function readMore() {
     if (article.className == "open") {
       // Read less
     article.className = "";
     button.innerHTML = "Show more";
   } else {
     article.className = "open";
     button.innerHTML = "Show less";
   }
}
Our functionality remains the same!
More
https://www.geeksforgeeks.org/how-to-insert-a-javascript-variable-inside-href-attribute/
How to insert a JavaScript variable inside href attribute?
… tags are used to create hyperlinks in HTML. One of the attributes of ‘a’ tag is ‘href’
href: Specifies the URL of the page the link goes to
Example:
<a href="https://www.geeksforgeeks.org/">
    GeeksforGeeks
</a>
Methods to use Variables inside this *‘href’* attribute:
-
Using onclick property:
This method uses the ‘onclick’ property of ‘a’ tag,
i.e, whenever the link (‘a’ tag) is clicked, an ‘onclick’ event is triggered.
Here we will use this onclick event to generate a new URL and redirect the user to that URL.
(NOTE: This URL will contain the Variable we want to use inside href attribute)
Steps:
First, we need to know the following terms,- “location.href” -> It is the entire URL of the current page.
- “this” -> Refers to the ‘a’ tag that has been clicked.
- “this.href” -> fetches the href value from the ‘a’ tag.
Once we have “this.href”, append the variable to it (Here we have used a variable named “XYZ”).
Then we need to append the value to the URL.
Now our URL is ready with the variable and its value appended to it.In the example below, we will append a variable named ‘XYZ’ and its value is 55.
<!DOCTYPE html>
<html>
<head>
	<title>GeeksforGeeks</title>
	<script>
		var val = 55;
	</script>
</head>
	<body>

		Link to <a href="https://www.google.com/"
onclick="location.href=this.href+'?xyz='+val;return false;">
	Google
</a>

	</body>
</html>
Resultant Url: https://www.google.com/?xyz=55‘val’ is the javascript variable that stores the value that we want to pass into the URL.
The URL has a variable named ‘XYZ’ that takes value = 55 from the javascript variable ‘val’. -
Using document.write:
document: When an HTML document is loaded into a web browser, it becomes a document object.
This document object has several functions, one of them is written ().
write(): Writes HTML expressions or JavaScript code to a document
In this method, we will use this write() function to create an “a tag”.
<!DOCTYPE html>
<html>
<head>
	<title>GeeksforGeeks</title>
	<script>
		var val = 55;
	</script>
</head>
	<body>
		Link to
		<script>
			var loc = "https://www.google.com/?xyz="+val;
			document.write('<a href="' + loc + '">Google</a>');
		</script>
	</body>
</html>
Resultant Url: https://www.google.com/?xyz=55‘val’ is the javascript variable that stores the value that we want to pass into the URL.
The URL has a variable named ‘XYZ’ that takes value = 55 from the javascript variable val.
https://www.geeksforgeeks.org/javascript-pass-string-parameter-in-onclick-function/
JavaScript | Pass string parameter in onClick function
- Last Updated : 21 Jun, 2019
The task is to pass a string as a parameter on onClick function using javascript, we’re going to discuss few techniques.
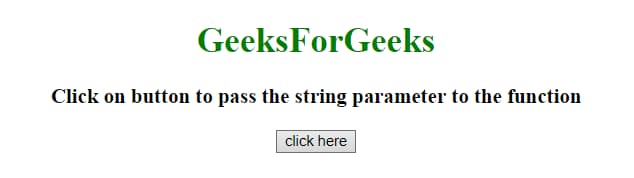
Example 1: This example simply put the argument which is string in the onClick attribute of the button which calls a function with a string as an argument using onClick() method.
<!DOCTYPE HTML>
<html>
<head>
<title>
JavaScript
| Pass string parameter in onClick function.
</title>
</head>
<body style="text-align:center;"
id="body">
<h4 style="color:green;">
GeeksForGeeks
</h4>
<p id="GFG_UP"
style="font-size: 19px;
font-weight: bold;">
</p>
<button onclick="GFG_Fun('Parameter'); ">
click here
</button>
<p id="GFG_DOWN"
style="color: green;
font-size: 24px;
font-weight: bold;">
</p>
<script>
var up =
document.getElementById('GFG_UP');
var down =
document.getElementById('GFG_DOWN');
up.innerHTML =
'Click on button to pass the '+
'string parameter to the function';
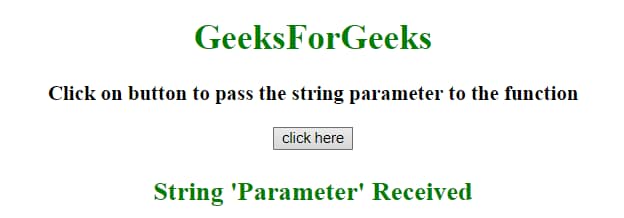
function GFG_Fun(parameter) {
down.innerHTML = "String '"
+ parameter + "' Received";
}
</script>
</body>
</html>
Output:
- Before clicking on the button:

- After clicking on the button:

Example 2: This example simply put the argument which is a string in the onClick attribute of the button which calls a function with string as an argument using onClick() method. Here the input button is created dynamically. This example uses the same approach as the previous one.
<!DOCTYPE HTML>
<html>
<head>
<title>
JavaScript
| Pass string parameter in onClick function.
</title>
</head>
<body style="text-align:center;"
id="body">
<h4 style="color:green;">
GeeksForGeeks
</h4>
<p id="GFG_UP"
style="font-size: 19px;
font-weight: bold;">
</p>
<p id="GFG_DOWN"
style="color: green;
font-size: 24px;
font-weight: bold;">
</p>
<script>
var up = document.getElementById('GFG_UP');
var down = document.getElementById('GFG_DOWN');
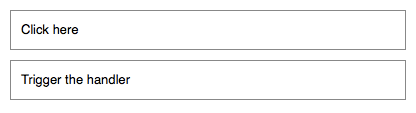
var inputEl = document.createElement('input');
inputEl.type = 'button';
inputEl.value = "Click here";
inputEl.addEventListener('click', function() {
GFG_Fun('Parameter');
});
document.body.insertBefore(inputEl, down);
up.innerHTML =
'Click on button to pass the '+
'string parameter to the function';
function GFG_Fun(parameter) {
down.innerHTML = "String '" +
parameter + "' Received";
}
</script>
</body>
</html>
Output:
- Before clicking on the button:
- After clicking on the button:
https://www.geeksforgeeks.org/how-to-add-a-parameter-to-the-url-in-javascript/?ref=gcse
How to add a parameter to the URL in JavaScript ?
- Last Updated : 30 May, 2019
Given a URL and the task is to add an additional parameter (name & value) to the URL using JavaScript.
URL.searchParams: This readonly property of the URL interface returns a URLSearchParams object providing access to the GET decoded query arguments in the URL.
Syntax:
var URLSearchParams = URL.searchParams;
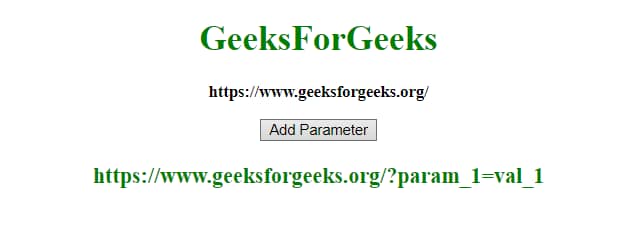
Example 1: This example adds the parameter by using append method.
<!DOCTYPE HTML>
<html>
	<head>
		<title>
			How to add a parameter to the URL
		</title>
	</head>

	<body style = "text-align:center;">

		<h4 style = "color:green;" >
			GeeksForGeeks
		</h4>

		<p id = "GFG_UP" style =
			"font-size: 15px; font-weight: bold;">
		</p>

		<button onclick = "GFG_Fun()">
			Add Parameter
		</button>

		<p id = "GFG_DOWN" style =
			"color:green; font-size: 20px; font-weight: bold;">
		</p>

		<script>
			var up = document.getElementById('GFG_UP');
			var url = new URL("https://www.geeksforgeeks.org");
			up.innerHTML = url;
			var down = document.getElementById('GFG_DOWN');

			function GFG_Fun() {
				url.searchParams.append('param_1', 'val_1');
				down.innerHTML = url;
			}
		</script>
	</body>
</html>
Output:
- Before clicking on the button:

- After clicking on the button:


Example 2: This example adds the parameter by using set method.
<!DOCTYPE HTML>
<html>
	<head>
		<title>
			How to add a parameter to the URL
		</title>
	</head>

	<body style = "text-align:center;">

		<h4 style = "color:green;" >
			GeeksForGeeks
		</h4>

		<p id = "GFG_UP" style =
			"font-size: 15px; font-weight: bold;">
		</p>

		<button onclick = "GFG_Fun()">
			Add Parameter
		</button>

		<p id = "GFG_DOWN" style =
			"color:green; font-size: 20px; font-weight: bold;">
		</p>

		<script>
			var up = document.getElementById('GFG_UP');
			var url = new URL("https://www.geeksforgeeks.org");
			up.innerHTML = url;
			var down = document.getElementById('GFG_DOWN');

			function GFG_Fun() {
				url.searchParams.set('param_1', 'val_1');
				down.innerHTML = url;
			}
		</script>
	</body>
</html>
Output:
- Before clicking on the button:
- After clicking on the button:
https://www.geeksforgeeks.org/how-to-modify-url-without-reloading-the-page-using-javascript/?ref=lbp
How to modify URL without reloading the page using JavaScript ?
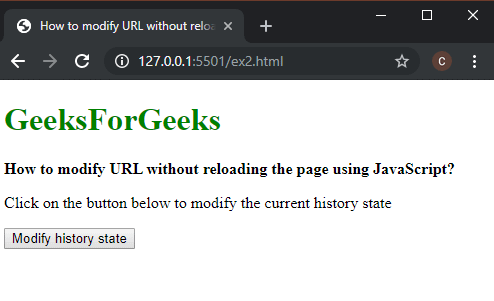
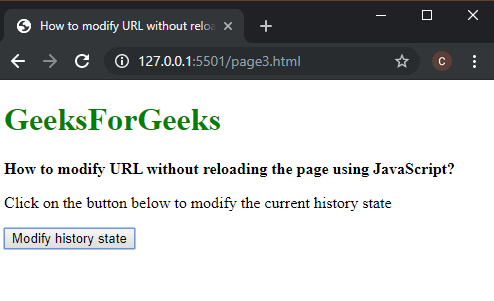
Method 1: Replacing the current state with replaceState() Method: The history interface of the browser manages the browser session history. It includes the page visited in the tab or frame where the current page is located. Manipulating this state can be used to change the URL of the browser without reloading the page.
The replaceState() method is used to modify the current history entry and replace the properties of the state with ones in the passed parameters.
The parameters of this method have 3 parts, the state object which is a serializable object about the state, the title which is the title of the new state and the URL which is the new URL of the state.
The URL can be changed by passing the required URL as a string to this method. This will change the URL of the page without reloading the page.
Example:
<!DOCTYPE html>
<html>

<head>
	<title>
		How to modify URL without reloading
		the page using JavaScript?
	</title>
</head>

<body>
	<h4 style="color: green">
		GeeksForGeeks
	</h4>

	<b>
		How to modify URL without reloading
		the page using JavaScript?
	</b>

	<p>
		Click on the button below to modify
		the current history state
	</p>

	<button onclick="modifyState()">
		Modify history state
	</button>

	<script>
		function modifyState() {
			let stateObj = { id: "100" };
			window.history.replaceState(stateObj,
						"Page 3", "/page3.html");
		}
	</script>
</body>

</html>
Output:
- Before clicking the button:

- After clicking the button:
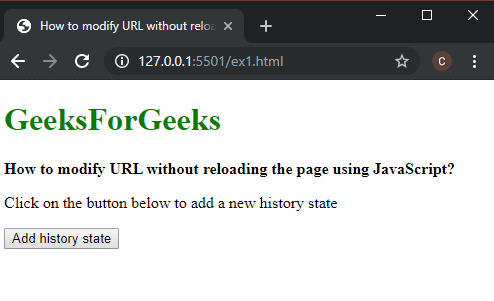
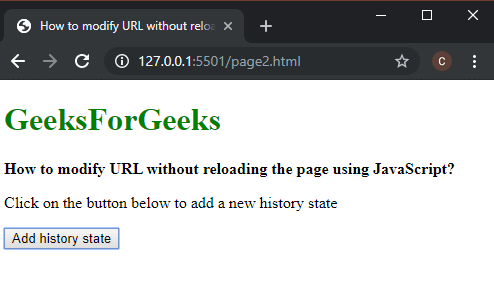
Method 2: Adding a new state with pushState() Method: The pushState() method is used to add a new history entry with the properties passed as parameters. This will change the current URL to the new state given without reloading the page.
The parameters of this method have three parts, the state object which is a serializable object about the state, the title which is the new title of the state and the URL which is the new URL of the state.
The URL can be changed by passing the required URL as a string to this method. This will change the URL of the page without reloading the page.
Example:
<!DOCTYPE html>
<html>

<head>
	<title>
		How to modify URL without reloading
		the page using JavaScript?
	</title>
</head>

<body>
	<h4 style="color: green">
		GeeksForGeeks
	</h4>

	<b>
		How to modify URL without reloading
		the page using JavaScript?
	</b>

	<p>
		Click on the button below to add
		a new history state
	</p>

	<button onclick="addState()">
		Add history state
	</button>

	<script>
		function addState() {
			let stateObj = { id: "100" };

			window.history.pushState(stateObj,
					"Page 2", "/page2.html");
		}
	</script>
</body>

</html>
Output:
- Before clicking the button:
- After clicking the button:
https://www.geeksforgeeks.org/how-to-run-a-function-when-the-page-is-loaded-in-javascript/?ref=lbp
How to run a function when the page is loaded in JavaScript ?
- Last Updated : 21 Jul, 2021
A function can be executed when the page loaded successfully. This can be used for various purposes like checking for cookies or setting the correct version of the page depending on the user browser.
Method 1: Using onload method: The body of a webpage contains the actual content that is to be displayed. The onload event occurs whenever the element has finished loading. This can be used with the body element to execute a script after the webpage has completely loaded. The function that is required to be executed is given here.
Syntax:
<body onload="functionToBeExecuted">
Example:
<!DOCTYPE html>
<html>
<head>
<title>
How to run a function when the
page is loaded in javascript ?
</title>
</head>
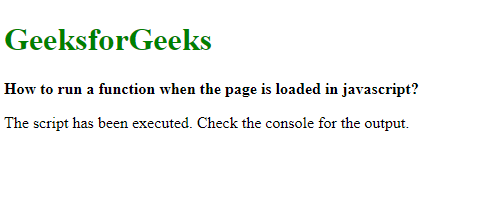
<body onload="console.log('The Script will load now.')">
<h4 style="color: green">GeeksforGeeks</h4>
<b>
How to run a function when the
page is loaded in javascript ?
</b>
<p>
The script has been executed. Check
the console for the output.
</p>
</body>
</html>
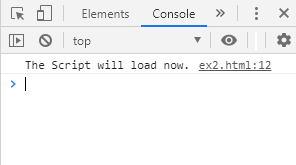
Output:

Console Output:
Method 2: The window object represents the browser window. The onload property processes load events after the element has finished loading. This is used with the window element to execute a script after the webpage has completely loaded. The function that is required to be executed is assigned as the handler function to this property. It will run the function as soon as the webpage has been loaded.
Syntax:
window.onload = function exampleFunction() {

    // Function to be executed
}
Example:
<!DOCTYPE html>
<html>
<head>
<title>
How to run a function when the
page is loaded in javascript ?
</title>
</head>
<body>
<h4 style="color: green">
GeeksforGeeks
</h4>
<b>
How to run a function when the
page is loaded in javascript?
</b>
<p>
The script has been executed. Check
the console for the output.
</p>
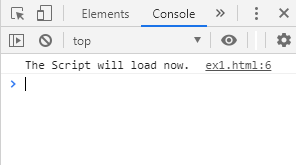
<script>
window.onload = function exampleFunction() {
console.log('The Script will load now.');
}
</script>
</body>
</html>
Output:
Console Output:
JavaScript is best known for web page development but it is also used in a variety of non-browser environments. You can learn JavaScript from the ground up by following this JavaScript Tutorial and JavaScript Examples.
Append Page Title
https://stackoverflow.com/questions/30191198/how-to-get-current-page-title-and-add-it-to-link-directly-as-variable-in-javascript
I think you just want to append a "?t=" parameter to the query string passed into the FB share link with the document.title. If that is correct, you can do
var shareURL = fbShareURL + encodeURIComponent(linkURL + "?t=" + document.title));
which will make a URL like
https://www.facebook.com/sharer/sharer.php?u=http%3A%2F%2Flmn.9nty.com%2F%3Ft%3DTITLE
which will include the page title as a query string parameter in url-encoded form. It's up to you what you do with that query string parameter, though. Using jQuery, you can update the share link dynamically:
var fbShareURL = "http://www.facebook.com/sharer/sharer.php?u=";
var title = document.title; // The current page
var linkURL = "http://lmn.9nty.com/";

$link = $("<a>");
$link.attr("href", fbShareURL + encodeURIComponent(linkURL + "?t=" + title));
$link.text("Share");

// Add the link to your page
$("body").append($link);
Demo: http://jsfiddle.net/7wst45gq/1/
Here is full, working HTML code as requested:
<html>
<head>
  <meta http-equiv="content-type" content="text/html; charset=UTF-8">
  <title>How to get current page title and add it to link directly as variable in JavaScript</title>
  <script type='text/javascript' src='//code.jquery.com/jquery-1.9.1.js'></script>
  <script type='text/javascript'>//<![CDATA[
    $(window).load(function(){

    // Begin demo code
    var fbShareURL = "http://www.facebook.com/sharer/sharer.php?u=";
    var title = document.title; // The current page
    var linkURL = "http://lmn.9nty.com/";

    $link = $("<a>");
    $link.attr("href", fbShareURL + encodeURIComponent(linkURL + "?t=" + title));
    $link.text("Share");

    // Add the link to your page
    $("body").append($link);
    // End demo code

    });//]]>
  </script>
</head>
<body></body>
</html>
https://stackoverflow.com/users/1938889/drakes)
21.9k33 gold badges4646 silver badges9090 bronze badges
-
I tried to post a snippet, but StackOverflow intentionally blocks Facebook links, even in example. Apologies. How else can I help? Did you see my demo link?
– Drakes
-
I saw it, but couldnt copy it out, you can help me with the full code by posting it here: learnmoreng.com/forum2_theme_111582926.xhtml?tema=3
-
Hello, I've updated my answer to include a complete HTML source
– Drakes
-
Thanks soo much but the problem now is its appending after my footer, can i make it append to my desired part in the body only?
-
Yes. Replace
$("body")with the jQuery selector of your footer element. For example, if your footer is like<div id="footer"></div>, then change$("body")to$("#footer").– Drakes
-
One last question, how can i replace the text Share with this image: w.sharethis.com/images/facebook_counter.png
-
Replace
$link.text("Share");with$link.html("<img src=\"http://w.sharethis.com/images/facebook_counter.png\">");– Drakes
-
Thanks for your lot of help Drakes But this worked instead $link.html("
 "](http://w.sharethis.com/images/facebook_counter.png>")); You are a genius.
 "](
"](
Add page title v2
I wouldn't exactly recommend a JS based approach for this but if you are interested only in this option, the following algorithm/pseudo-code will help you:
Assumption: Your pages follow a strict Home > Search > Details structure and that the Details page cannot be called from anywhere but it's corresponding Search Page)
Is Page Type == Home? If yes, breacrumb = "Home" // This is because when it is Homepage, the breadcrumb is always just Home and no anchor needed because it will become a link to same page.
Is Page Type == Search? If yes, breadcrumb = "<a href='home.htm'>Home</a>" + "Current Page Title" // This is because your search page is always 2nd level and the first level is always home. Notice there is no link on the 2nd level because it actually is the current page.
Is Page Type == Details? If yes, breadcrumb = "<a href='home.htm'>Home</a>" + <a href='prev_page_url'>Previous Page Title</a> + "Current Page Title" //This is because we dont know what type of search page the previous page was. It could be Search Chairs or Search Tables or Search XX. Note again there is no link on 3rd level for reasons explained above.
So, in essence every page must be assigned a page type and based on that we decide what to show in the bread-crumb.
Now, let us see a sample:
- User is in Homepage. Page Type = Home so breadcrumb = Home.
- User clicks on Search for Chairs. In Search Chairs page, Page Type = Search, so breadcrumb would be Home > Search Chairs.
- User clicks on View Details. Page Type = Details, so breadcrumb = Home > Search Chairs (from previous page) > View Chair Details.
- User clicks on link to Search for Tables. Page Type = Search, so breadcrumb = Home > Search Tables. Previous page's breadcrumb is ignored.
- User clicks on View Details. Page Type = Details, so breadcrumb = Home > Search Tables (from previous page) > View Table Details.
- User clicks on Home link. Page Type = Home, so breadcrumb = Home. Previous page's breadcrumb is ignored.
This should overcome the issue that Sumurai8 had mentioned in this thread also.